A comprehensive wedding day emergency kit checklist gives you an immediate fix for broken zippers, bleeding blisters, unexpected stains, and sudden migraines before they cause chaos. When you are managing your own celebration without a full-service production team, packing a strategic, well-organized kit ensures that minor day-of mishaps do not derail your schedule or take you away from your guests.
Every DIY wedding encounters unexpected friction: a boutonnière stem snaps, a hem drops right before the processional, or outdoor heat causes makeup to melt during portraits. Knowing exactly what to pack for wedding day contingencies is not about expecting catastrophe—it is about establishing an efficient triage system so that small problems can be solved in ninety seconds rather than forty-five stressful minutes.
Why Every DIY Couple Needs a Comprehensive Wedding Day Emergency Kit Checklist
Couples hiring full-service event planners often take on-site crisis management for granted. Planners routinely travel with rolling trunks full of industrial steamers, specialty sewing supplies, and medical basics. When you produce your own wedding, you step into the role of project manager, meaning the burden of day-of troubleshooting falls directly on you, your partner, and your wedding party.
Without an organized diy wedding day survival kit, a simple issue like a pop-off tuxedo button or a headache turns into a logistical crisis. Someone must leave the getting-ready suite, locate a local convenience store, navigate unfamiliar roads, and return—burning up to an hour of critical prep time. That lost hour inevitably compresses your photography window or pushes back your ceremony start time.
To avoid chaos, organize your supplies around four distinct operational categories:
- Physical Triage: Immediate first-aid supplies to treat pain, gastrointestinal distress, allergic reactions, cuts, and friction blisters.
- Wardrobe & Garment Repair: Fastening tools, temporary adhesives, and fabric-safe stain removal agents to repair attire instantly.
- Grooming & Sensory Comfort: Hygiene, sweat control, and cosmetic supplies that keep you looking fresh across ten to twelve hours of direct sunlight, flash photography, and dancing.
- Technical & Hardware Backups: Fasteners, tools, adhesives, and electronics hardware that keep your decor, audio equipment, and signage intact.
Having these categorized items on hand preserves your carefully calculated schedule. By pairing your physical toolkit with a structured wedding day-of schedule for vendors, you build a buffer against delays, ensuring minor hiccups never compromise key milestones.
Wardrobe Malfunction Fixes: Bridal, Suit, and Attire Emergencies
Garment failures are among the most common disruptions on a wedding day. Heavy gowns, delicate lace, rented tuxedos, and stiff formal shoes are all prone to stress under real-world conditions. Pack your wardrobe repair kit with high-grade, professional-grade alternatives rather than basic travel-pack sewing sets.

Fasteners and Structural Repairs
- Pre-threaded sewing needles: Thread at least four needles ahead of time with heavy-duty polyester thread in white, ivory, black, and the dominant color of your bridal party attire. Trying to thread a needle with shaking hands ten minutes before the ceremony is nearly impossible.
- Heavy-duty safety pins: Include an assortment of small, medium, and large reinforced nickel pins for bustling heavy trains, fixing torn bust darts, or securing broken shoulder straps.
- Double-sided fashion tape: Use professional medical-grade or fabric-grade body tape to hold slipping necklines, secure gap-prone button-down shirts, and keep pocket squares upright.
- Iron-on/No-sew hem tape: Pressure-sensitive fabric tape creates an instant hem if someone steps on a bridesmaid dress and rips out the stitching.
- Extra hardware: Pack backup clear earring backs, universal cufflink pairs, replacement tuxedo buttons, and an extra set of collar stays.
- Zipper lubricant: A piece of clear paraffin wax or a graphite stick can loosen a stuck zipper on a vintage gown or rental jacket without staining the textile.
Stain Removal Protocols
Avoid applying unknown liquid chemicals or aggressive scrubbing to formal fabrics like silk, mikado, or chiffon. Water rings and dye bleeding can cause more damage than the original stain. Prepare a targeted stain removal kit and follow these protocols:
- White chalk: The ultimate bridal gown secret weapon. High-purity white chalk coats and camouflages dark scuffs along the train hem or minor grease marks when wet cleaning is impossible right before photos.
- Baby powder or cornstarch: For grease and oil-based food stains, dusting the area with cornstarch absorbs the oils without rubbing. Let it sit for five minutes, then gently brush it away with a dry lint-free cloth.
- Oil-free stain wipes: Keep specialty wipes formulated for delicate textiles on hand. often blot gently inward from the outer edge of the stain to prevent spreading, avoiding harsh rubbing on fragile weaves.
Footwear and Friction Relief
New dress shoes, warm weather, and long hours on your feet can quickly lead to painful friction. General skin care recommendations from the American Academy of Dermatology suggest protecting friction-prone areas with soft bandages or padding to help prevent uncomfortable blisters:
- Anti-friction blister balm: Apply a lubricating anti-chafe stick to heels, ankles, and pinky toes before putting shoes on.
- Gel ball-of-foot cushions: Silicone footbed inserts reduce pressure during standing ceremonies and extended photo sessions.
- Heel protectors: Wide plastic heel caps stop narrow stilettos from sinking into soft turf during outdoor garden or lawn ceremonies.
- Anti-static spray: A light misting prevents static cling on lightweight synthetic bridesmaid dresses, suit trousers, and synthetic gown linings.
Medical and First-Aid wedding day emergency kit items
Minor physical symptoms—a sudden tension headache, sinus congestion, or an upset stomach—can quickly drain your energy. Stocking the right wedding day emergency kit items ensures your personal comfort and keeps your wedding party feeling their best throughout a long day.

Over-the-Counter Medications
Keep medications in their original blister packs or clearly labeled travel containers so individuals can verify dosages and active ingredients:
- Pain relievers and anti-inflammatories: Pack both ibuprofen (for swelling, muscle aches, and cramps) and acetaminophen (for headaches and fever).
- Gastrointestinal support: Calcium carbonate antacids for heartburn, bismuth subsalicylate for nausea, and loperamide for sudden stress-induced diarrhea.
- Allergy support: Non-drowsy antihistamines (such as cetirizine or loratadine) to counter outdoor pollen, floral dust, or pet dander without causing grogginess during the reception.
- Eye drops: Lubricating, redness-relieving eye drops refresh eyes irritated by hairspray, wind, or emotional tears before portrait sessions.
Minor Wound and Burn Care
Accidental cuts from floral wire, broken stem glassware, or hot curling iron burns happen frequently during morning preparations. First-aid guidance from the American Red Cross highlights the value of keeping core wound care supplies organized and immediately accessible for rapid response: Source: Redcross source.
- Sterile adhesive bandages: Pack an assortment of sizes, including clear waterproof strips and varieties that match diverse skin tones.
- Liquid skin bandage: Ideal for paper cuts, hanging cuticle tears, or blisters where a traditional fabric bandage would look unsightly in ring close-up photos.
- Antiseptic wipes & antibiotic ointment: Single-use cleansing wipes clean cuts quickly without leaving behind adhesive-ruining residues.
- Burn relief hydrogel: Provides immediate cooling and relief if a hot curling wand or garment steamer touches bare skin.
Hydration, Glucose, and Sensory Recovery
Adrenaline often masks hunger and dehydration until physical fatigue sets in. Health guidance from the Centers for Disease Control and Prevention highlights the necessity of staying consistently hydrated when spending extended hours in warm environments or active settings: Source: Cdc source.
- Electrolyte powder packets: Single-serve electrolyte mixes restore hydration faster than plain water, which is especially helpful during warm-weather outdoor weddings.
- Non-perishable, low-mess snacks: Pack glucose-stable snacks like almond packets, protein bars, or fruit leather strips. Avoid chocolate, powdered sugar, or colored berries that could stain formal attire.
- Cooling towels and earplugs: Instant evaporative cooling towels refresh your neck during hot photo sessions, while high-fidelity earplugs offer sensory relief during loud reception preparations.
Hygiene, Grooming, and Beauty Touch-Up Essentials
Even long-wear professional makeup and structured hairstyles need attention after hours of hugs, tears, and humidity. Your grooming kit should focus on oil absorption, sweat management, and precise touch-ups that preserve your look under intense photography lighting.
Hair Control and Structure
- Bobby pins and hairpins: Pack pins in shades that match your wedding party's hair colors (blonde, brunette, auburn, and black), along with clear mini elastic bands.
- Travel-size strong-hold hairspray: Choose a fine-mist aerosol that locks stray flyaways without creating a stiff, shiny residue on camera.
- Rat-tail teasing comb: Essential for smoothing parts, taming cowlicks, and adding crown volume right before veil placement.
- Dry shampoo: A quick spray absorbs excess oil around the scalp or hairline during warm outdoor ceremonies.
Makeup Lock and Shine Defense
- Oil-absorbing blotting sheets: Gently lift surface sebum from the T-zone without disturbing foundational makeup layers before photography.
- Translucent setting powder: A colorless, micro-milled silica powder cuts shine across all skin tones without adding tint or causing camera flashback.
- Waterproof lash adhesive: Keep a dark or clear lash glue with a brush-on applicator ready for loose inner or outer false lash corners.
- Hydrating mist / Makeup setting spray: Reactivates powder products and blends makeup layers for a smooth, natural finish before the reception entrance.
Hygiene, Breath, and Sweat Protection
- Deodorant wipes / Antiperspirant towelettes: Individually wrapped wipes refresh underarms without leaving white chalky lines on dark suits or gowns.
- Underarm dress shields: Disposable adhesive garment shields absorb moisture directly within suit jackets and dress sleeves, preventing visible perspiration rings.
- Body anti-chafe stick: Apply to the inner thighs, bra lines, and necklines to eliminate friction during dancing.
- Oral care: Pack dissolving breath strips, dental floss picks, and travel toothbrushes. Avoid chewing gum, which can leave an unsightly wad visible in candid photos.
- Nail maintenance: Pack nail glue for acrylic repairs, an emery board for snags, and a clear topcoat to halt sudden runs in sheer tights.
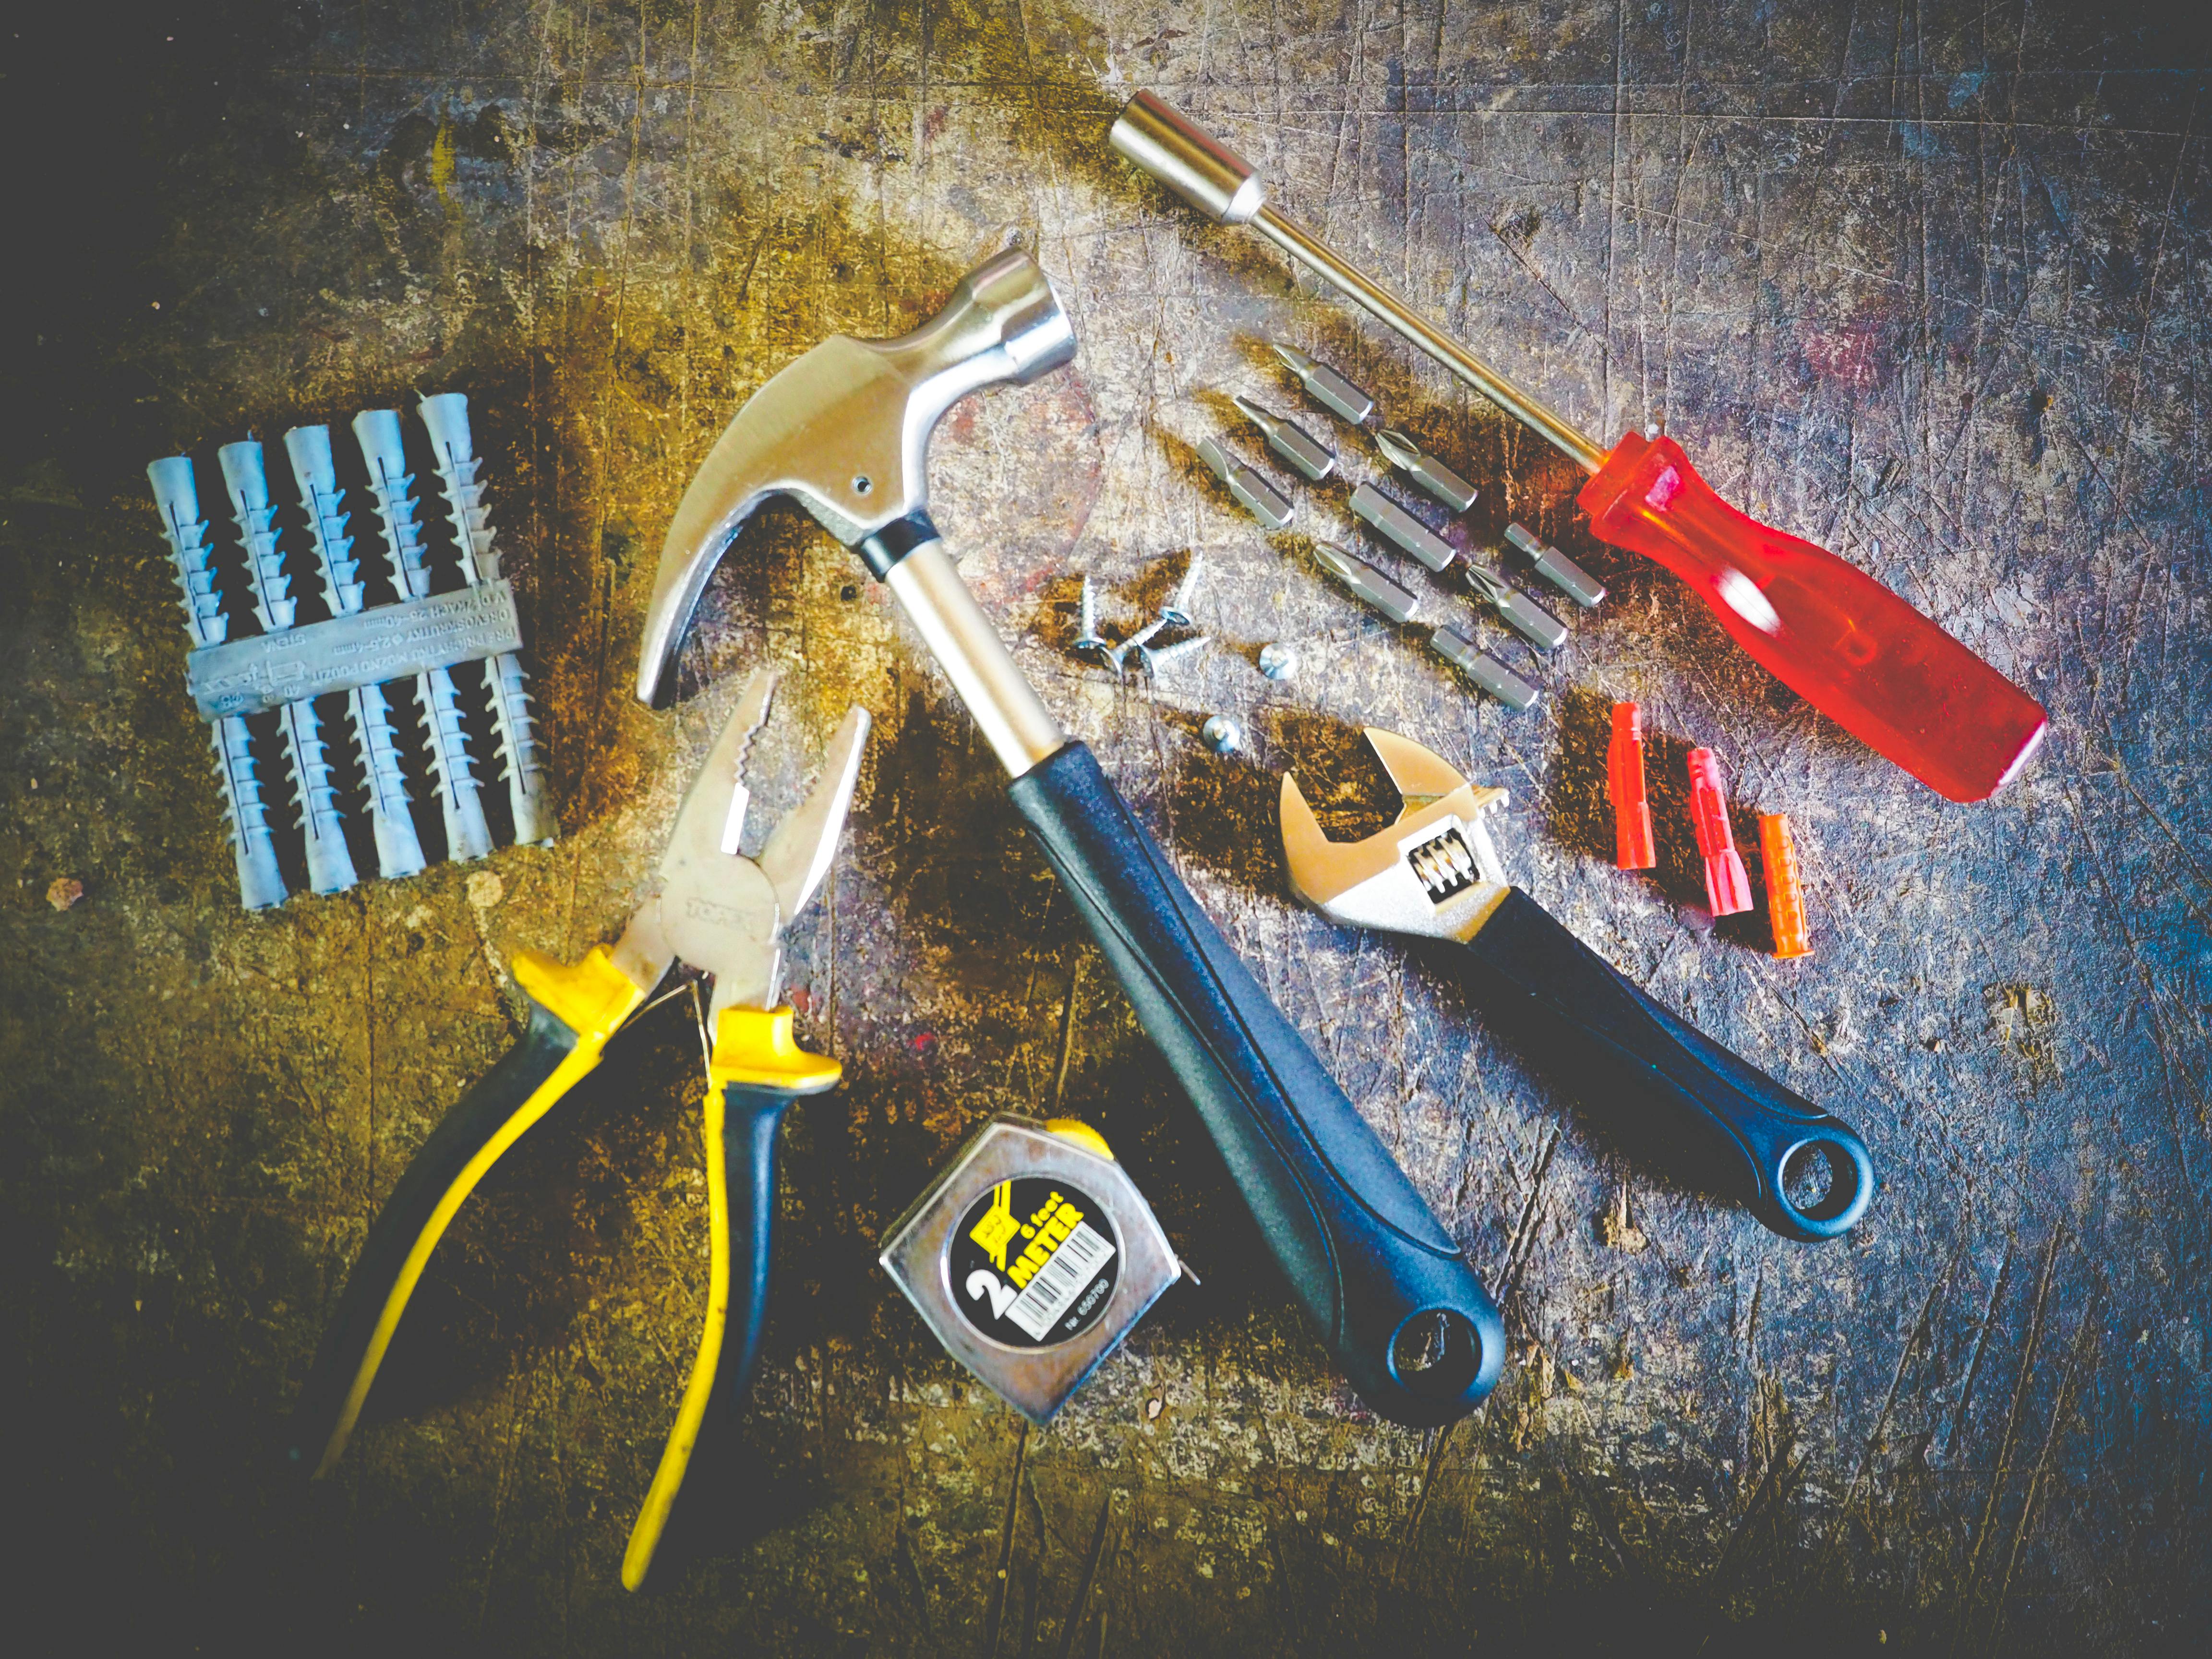
Toolbox and Hardware: The Technical diy wedding day survival kit
DIY weddings require quick mechanical fixes. Arbors sway in the wind, signage loses stability, floral installations need adjusting, and sound equipment demands power. A well-stocked technical diy wedding day survival kit gives you the tools to fix physical and electrical issues in minutes.
Mechanical Tools and Fasteners
- Multi-tool with needle-nose pliers: Tightens loose bolts on ceremony arches, adjusts easel hardware, and removes stubborn tags or zip ties.
- Precision floral wire cutters: Standard craft scissors cannot cleanly cut heavy floral stems or thick wire. Dedicated bypass wire cutters handle boutonnieres and floral arrangements easily.
- Heavy-duty cable ties (Zip Ties): Black, white, and clear zip ties secure floral foam cages to arbors, stabilize loose drapery, and tie back untidy audio cables.
- Heavy-duty gaffer tape: Avoid standard duct tape at a wedding venue. Professional gaffer tape secures runners and conceals cables without leaving sticky residue on hardwood or historic flooring.
- Removable Command mounting strips: Provide damage-free hanging power for signage, directional frames, and restroom decor, keeping your venue deposit safe.
- Green 22-gauge floral wire & floral tape: Rebuild broken boutonnieres, corsages, or centerpieces in seconds if a blossom snaps during pre-ceremony photos.
Electronics and Power Management
- High-capacity portable power banks (20,000+ mAh): Ensure your photo coordinator, MC, or DIY sound technician can charge their mobile devices without hunting for wall outlets.
- Multi-head charging cables: Include certified USB-C, Lightning, and Micro-USB cords to keep all device types powered.
- Spare standard batteries: Pack sealed packs of fresh 9V, AA, and AAA lithium batteries for wireless microphones, fairy lights, and sound receivers.
- Miniature screwdriver set: Tightens loose temple screws on eyeglasses and opens battery compartments on specialty decor items.
Logistical Administration and Paperwork
- Printed master vendor contact directory: Digital phones fail, lose cell reception, or run out of battery. Keep a physical sheet with the names, roles, and direct cell numbers of every booked vendor.
- Physical copies of vendor contracts: Useful for clarifying contracted arrival windows, power requirements, or cleanup parameters on the spot.
- Cash tip envelopes: Pre-labeled envelopes with calculated gratuities prevent end-of-night payment confusion. Check our detailed guide on calculating wedding vendor tips accurately to budget these amounts properly.
- Fine-tip permanent markers and neutral pens: For signing the marriage license, labeling leftover decor boxes, and writing last-minute place cards.
How to Pack, Store, and Assign Kit Ownership
Even the most complete kit is useless if you cannot find what you need during a stressful moment. Organizing, storing, and delegating your kit is just as important as the items you pack inside it.
Storage Architecture: Tackle Box vs. Clear Hanging Organizer
Ditch dark canvas bags where small items easily get lost. Instead, pick a storage design that offers clear visibility and fast access:
| Feature / Criteria | Multi-Tier Cantilever Tackle Box | Clear Hanging Toiletry Organizer |
|---|---|---|
| Primary Best Use | Hardware, mechanical tools, heavy fasteners, and electronics. | Cosmetics, hygiene, first-aid, and wardrobe repair supplies. |
| Visibility Speed | High; tiered trays fold open simultaneously on a tabletop. | High; clear vinyl zippered compartments hang from doors or hooks. |
| Portability | Rigid structure protects delicate items; heavier to transport. | Folds flat; lightweight; easy to pass between dressing rooms. |
| Spill Containment | Rigid compartments catch dry debris; hard plastics wipe clean easily. | Sealed zip pockets prevent liquid leaks from spreading to other items. |
For DIY weddings, a hybrid approach works best. Use a clear, multi-pocket hanging organizer for personal, medical, and wardrobe supplies in the dressing room. Keep heavy tools, tape, zip ties, and batteries in a compact, rigid toolbox stored near your central decor station.
Assigning a Kit Captain
Neither the couple nor the primary hosts should personally manage the emergency kit on the wedding day. Instead, assign this duty to a dedicated Kit Captain—such as the Maid of Honor, Best Man, an experienced bridal attendant, or a trusted friend outside the immediate wedding party.
Walk your Kit Captain through the storage layout one week before the wedding. Make sure they know where medications, the sewing kit, and the backup master schedule are stored. When someone needs an item, your Kit Captain can grab it immediately, allowing you to relax and stay fully present with your guests.
Staging and Logistical Placement
Divide your items logically between two physical locations during the day:
- Primary Staging (Getting-Ready Suite): The complete hanging organizer and hardware kit remain in the primary dressing area throughout morning preparations and formal photography.
- Satellite Reception Pouch (Under the Head Table): After the ceremony, transfer a small pouch with essentials (blotting papers, pain relievers, breath strips, safety pins, and lip color) to a discreet basket beneath the sweetheart or head table for quick touch-ups throughout the night.
Common Mistakes When Building a DIY Wedding Emergency Kit
Many couples pack their emergency kits with good intentions, only to find them unusable due to poor planning. Avoid these common mistakes when assembling your supplies:
- Packing unsealed liquids next to fabrics: Atmospheric changes, heat, and transit can pop the lids on hand sanitizers, stain sprays, or setting mists. Seal liquid bottles individually in airtight zip-top plastic bags to protect your sewing tools and fabrics from leaks.
- Forgetting personal prescription backups: Generic first-aid kits do not include personal daily prescriptions, specialized migraine medications, extra asthma inhalers, or spare contact lenses and lens solution. Pack a three-day supply of all essential personal medications.
- Relying entirely on generic pre-made drugstore kits: Inexpensive store-bought survival pouches often include low-quality items—like plastic safety pins that bend under pressure or low-pigment chalk. Build your own kit using durable, professional-grade supplies.
- Locking the emergency kit in a distant car trunk: An emergency kit sitting in a locked car three parking lots away cannot help you when a zipper splits five minutes before the processional. Keep your kit physically staged inside the active dressing area at all times.
For more advice on avoiding unexpected expenses and day-of logistical hurdles, explore our breakdown of common wedding hidden costs.
Frequently Asked Questions
Who should be responsible for carrying the wedding day emergency kit?
Assign your emergency kit to a designated "Kit Captain," such as your Maid of Honor, Best Man, a personal attendant, or a detail-oriented friend. The couple should rarely spend time digging through supplies or searching for lost items. Your Kit Captain should know exactly where the kit is staged in the dressing suite and keep a small pouch of touch-up essentials accessible during the reception.
Can I buy a pre-made wedding survival kit instead of assembling a DIY version?
While pre-packaged wedding kits offer a convenient starting point, they rarely include everything a DIY couple needs. Most store-bought kits feature small quantities, flimsy sewing tools, and generic supplies while missing venue-specific essentials like gaffer tape, floral wire, high-capacity power banks, and specialized stain removers. Building your own kit ensures you have reliable, high-quality supplies suited to your attire, venue, and schedule.
What are the top three most used items in a wedding emergency kit?
The three most frequently used emergency items at DIY weddings are heavy-duty safety pins (for bustling trains and repairing broken straps), oil-absorbing blotting sheets (for cutting shine before photography without ruining makeup), and over-the-counter pain relievers (for soothing tension headaches and sore feet). High-capacity portable phone chargers and clear fashion tape follow closely behind.
When should I assemble my wedding day emergency kit?
Assemble your emergency kit at least two to three weeks before your wedding date. Building your kit early gives you plenty of time to source specialized items—like fabric-safe chalk, specific thread colors, and blister treatments—without last-minute stress. Pack the final kit during your decor staging and review its contents with your Kit Captain one week before the big day.
A well-prepared emergency kit keeps minor mishaps from interrupting your celebration. Pair your day-of preparation with a smooth master schedule using Marry Math's free timeline generator, ensuring every part of your wedding day runs smoothly from morning prep to the final send-off.